
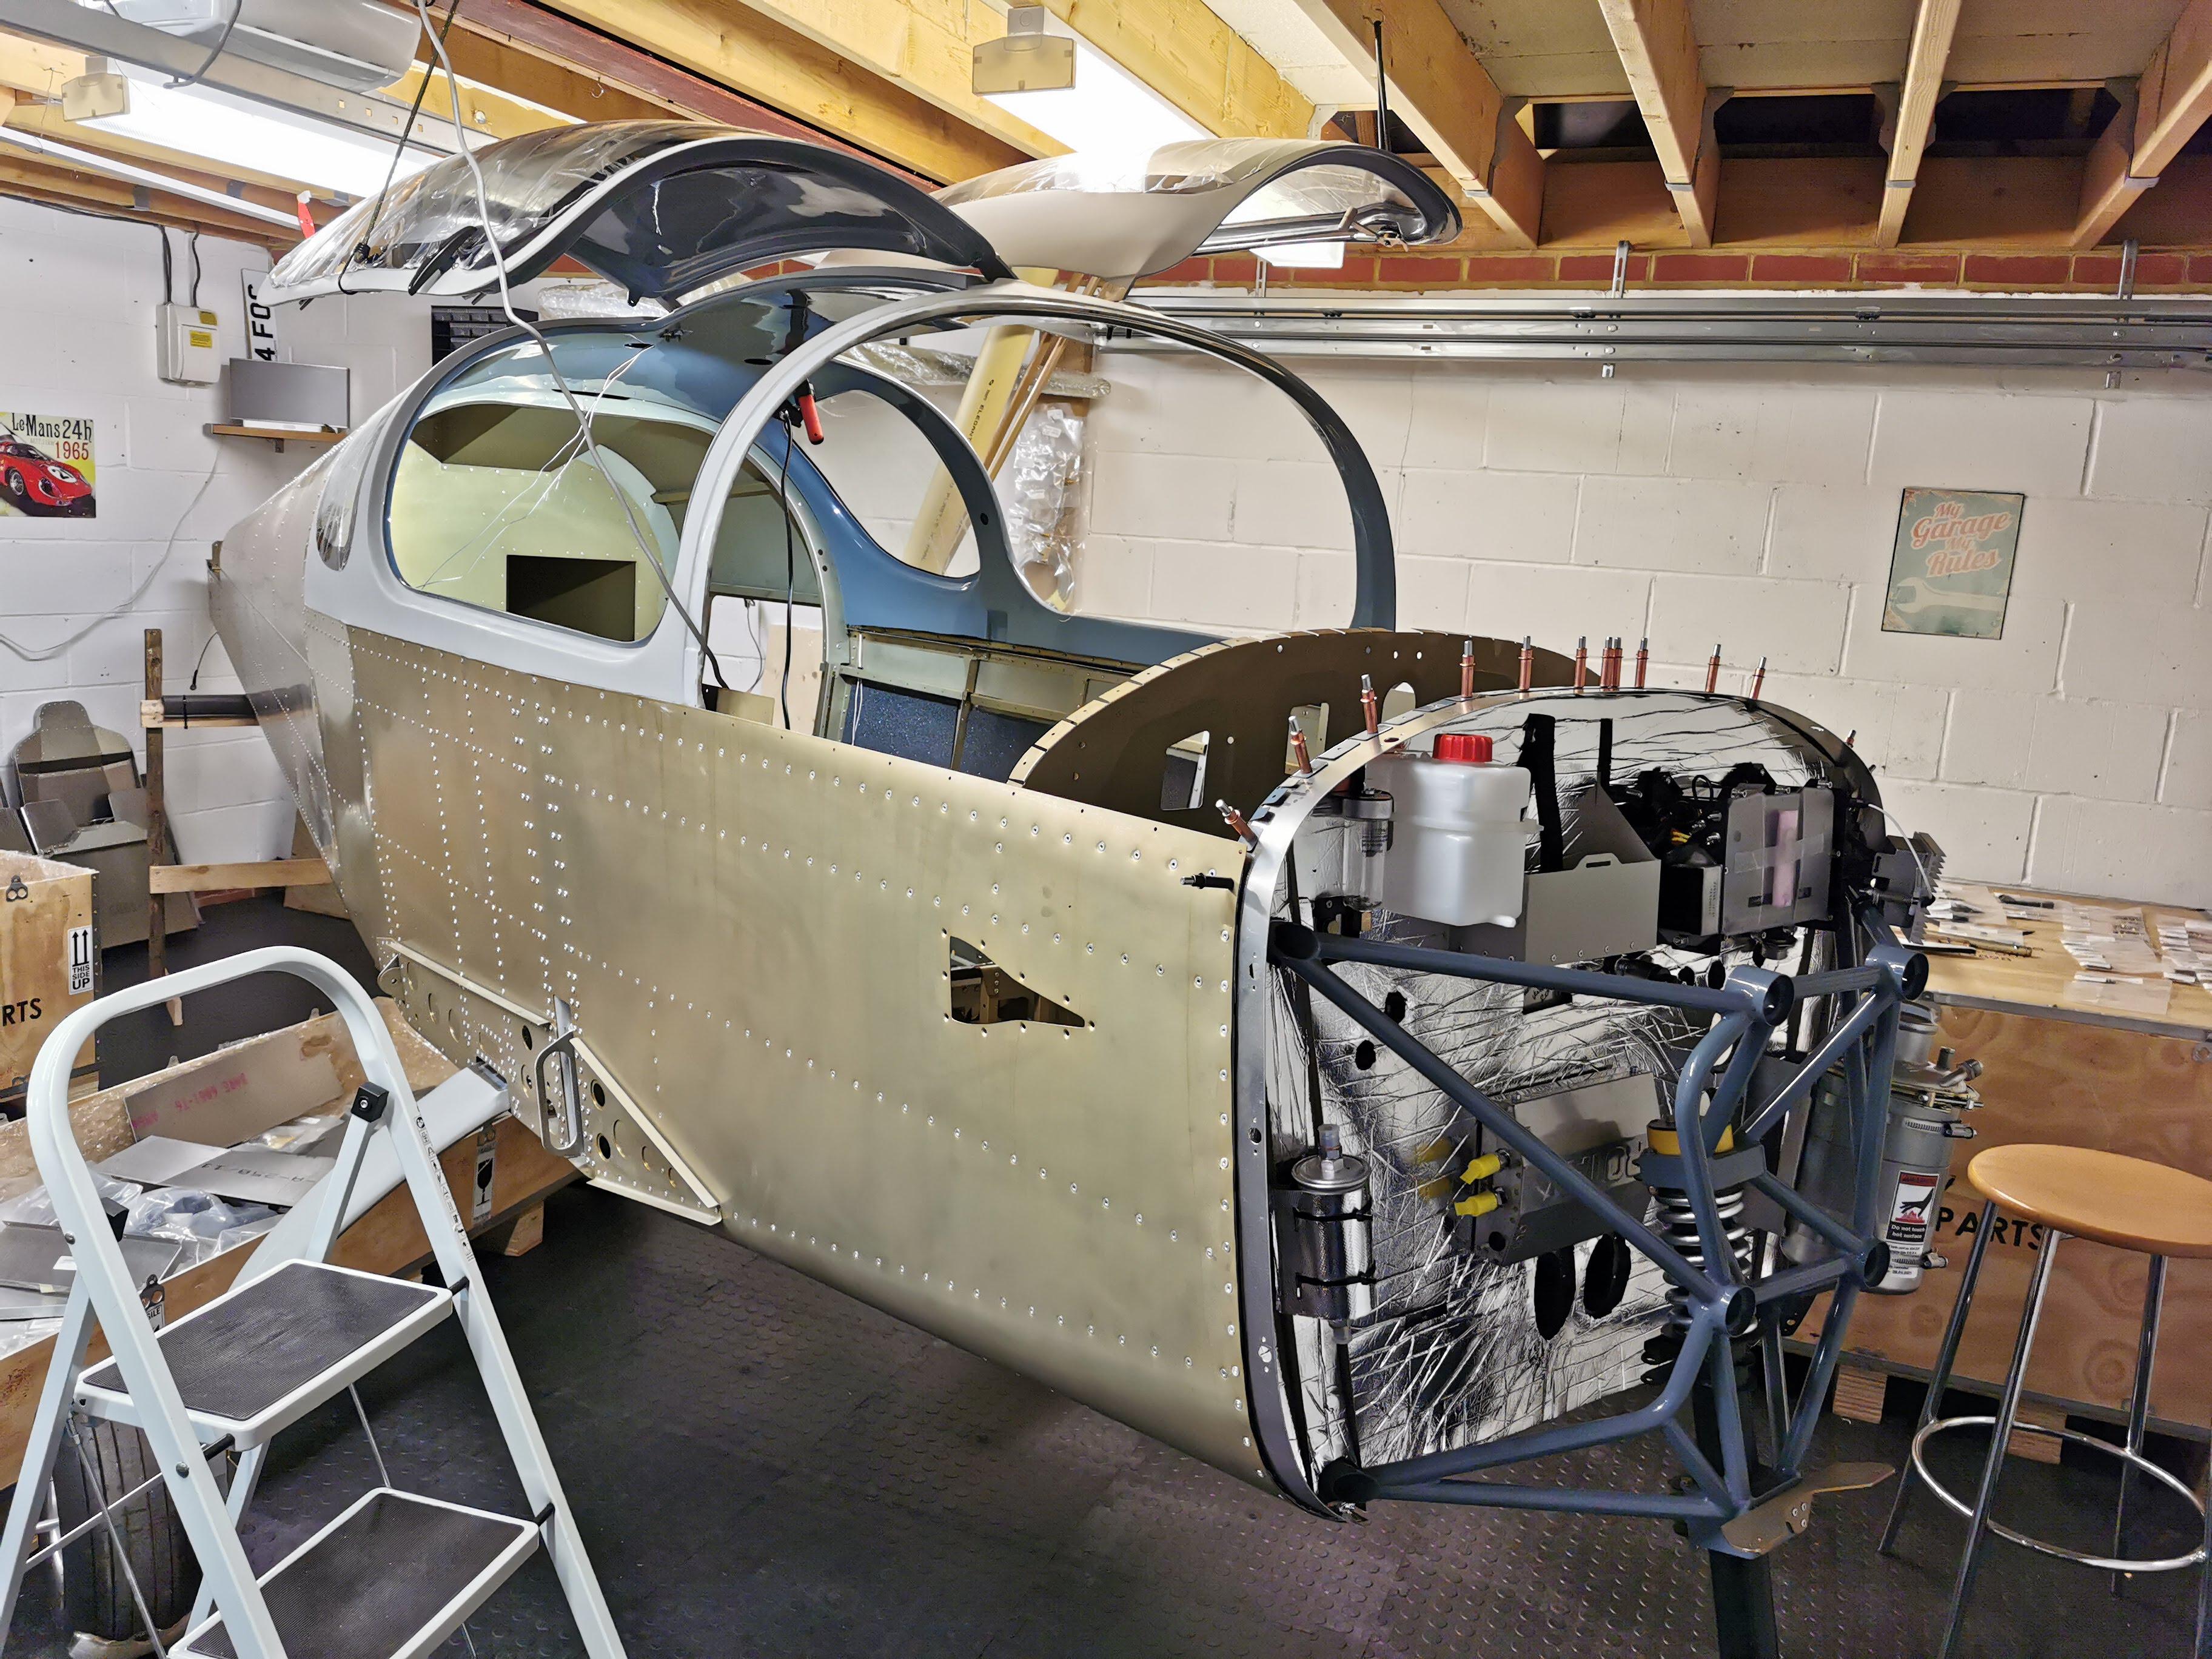
First tasks, checking inventory for the quick build fuselage, firewall forward and canopy kits many items missing.
The elevator torque tube was very stiff as assembled by the factory. Had to drill out rivets and file down and realign all 4 bushes. A few special tools are needed to drill around corners in a tight space! 5 hours. But hopefully will pay dividends in smooth flight controls later.
Adding rivnuts to the inside centre console. Getting good at this now. Having a bigger rivnut puller certainly helps when it can get into the space.
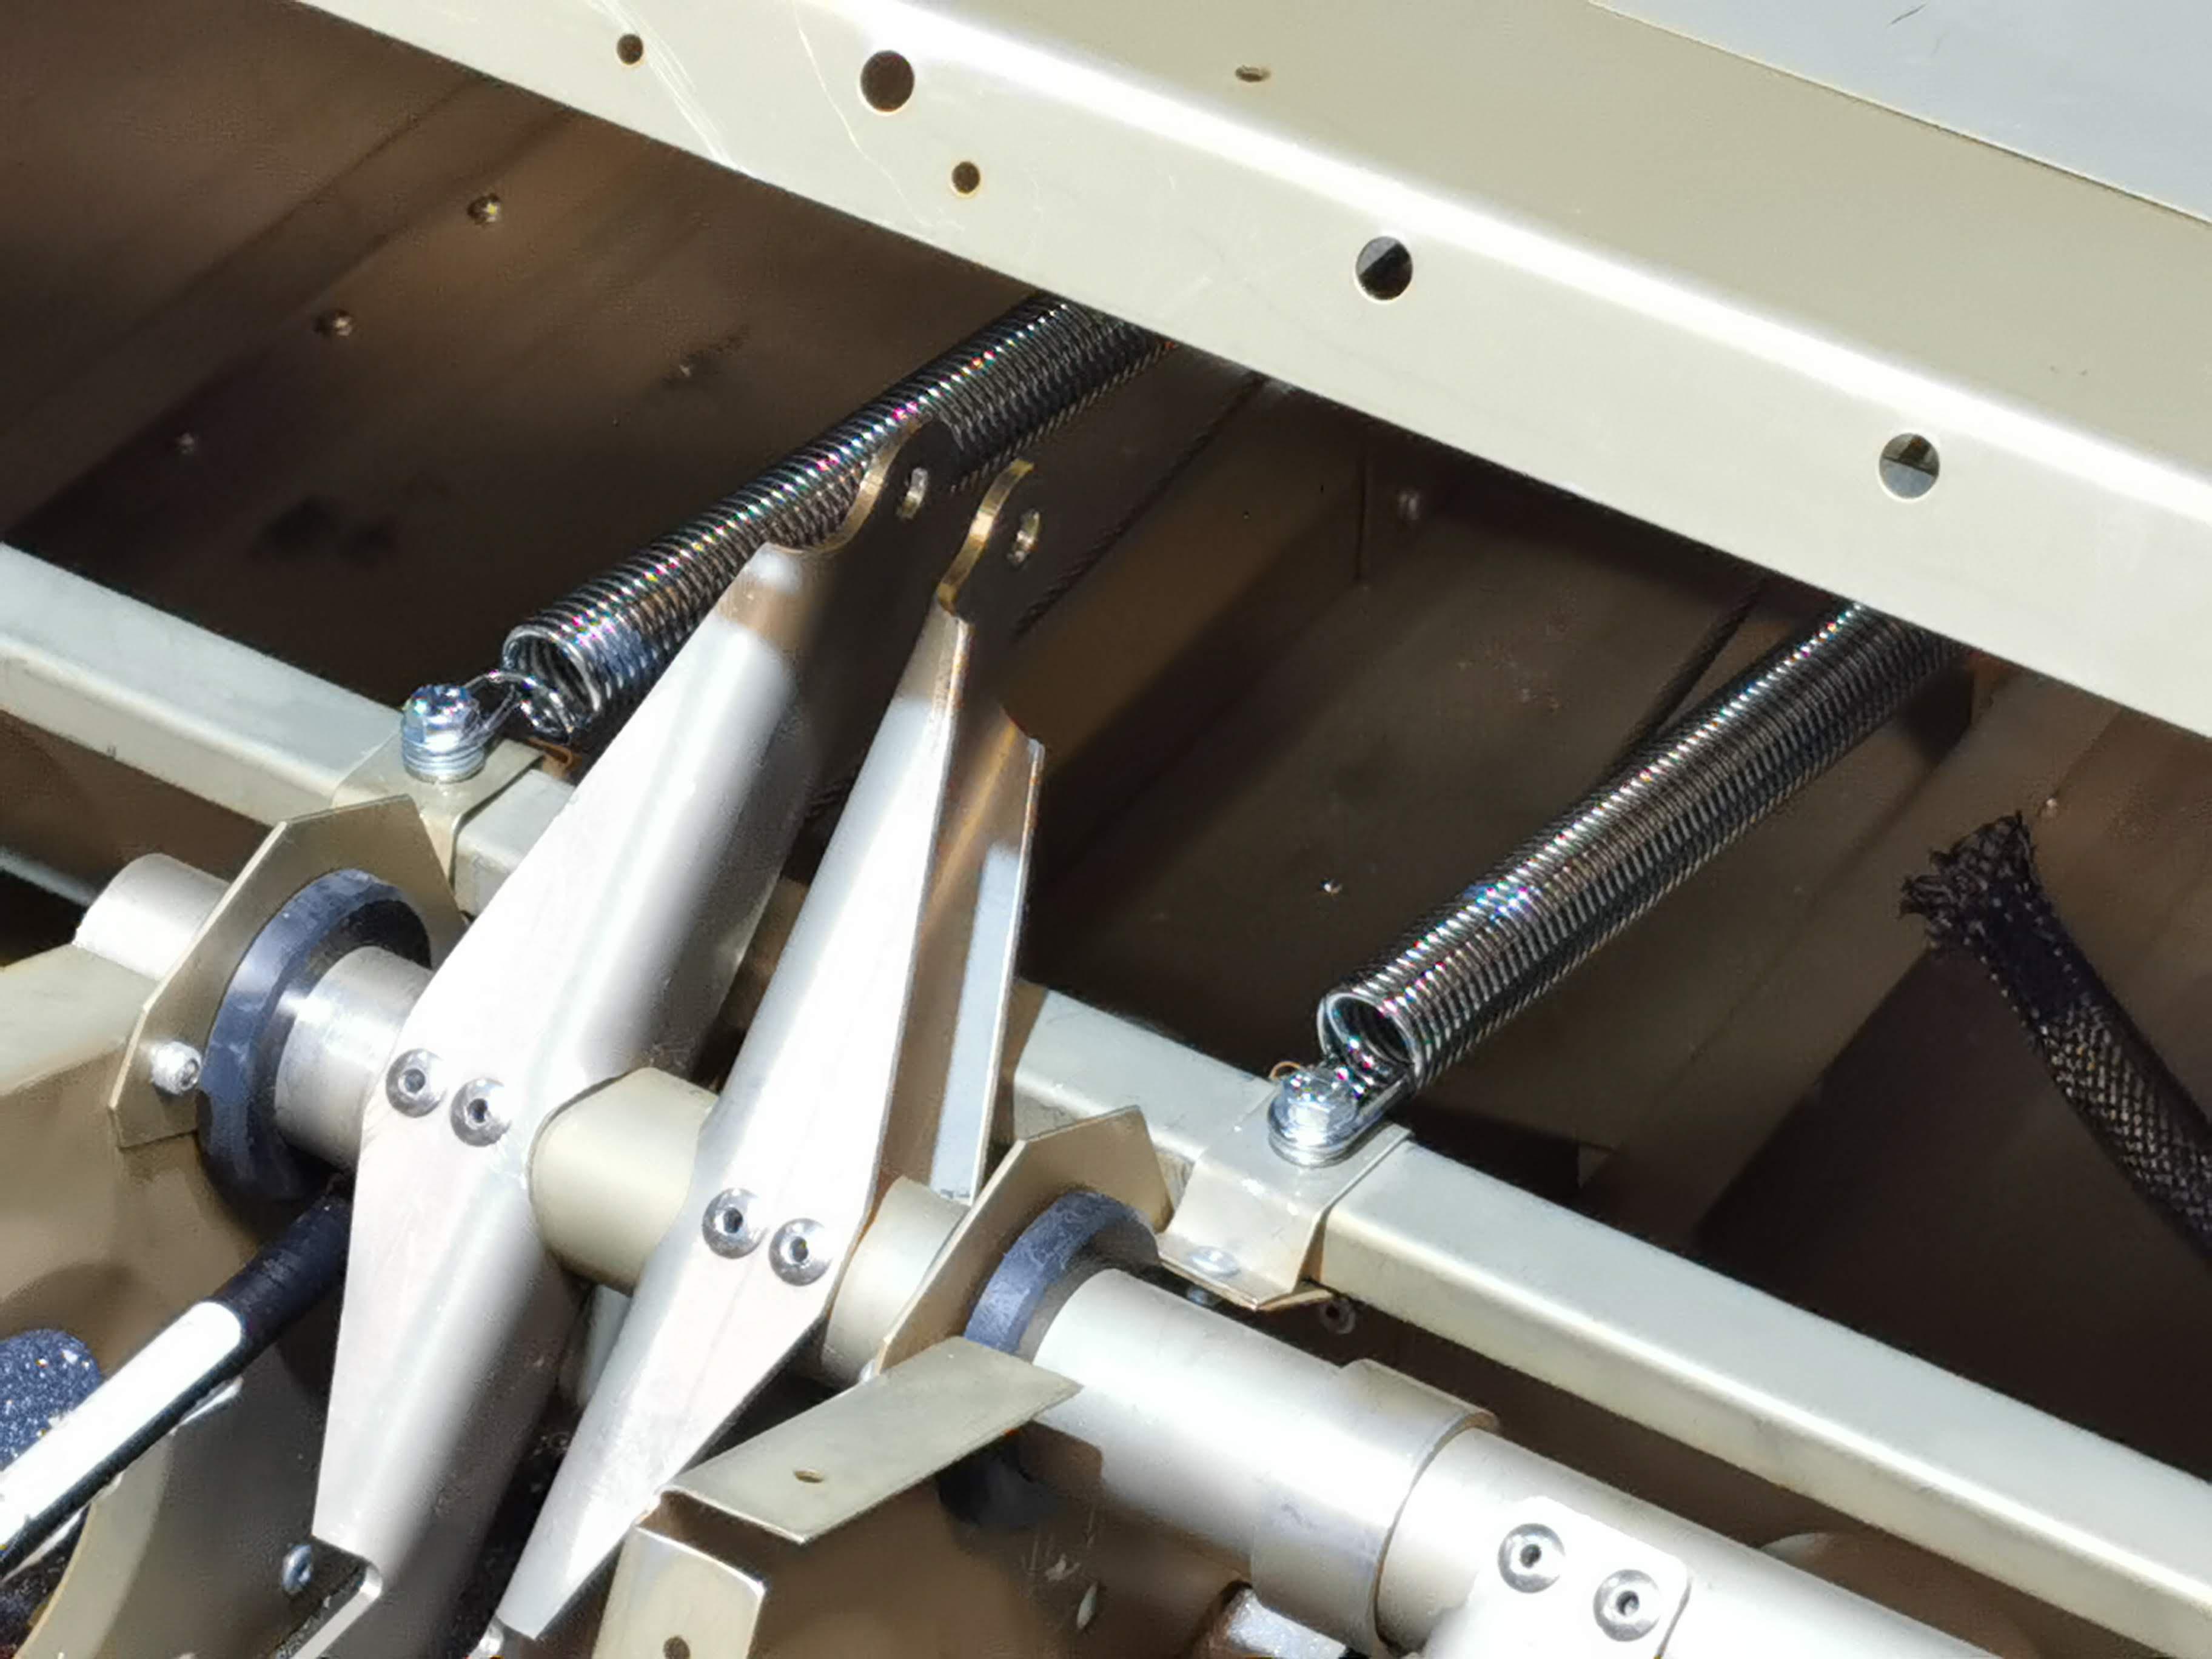

Fitted rudder springs mid-fuselage – tricky leaning through the luggage door.
Assembled
- Rudder pedals assembled and clecoed in place for now.
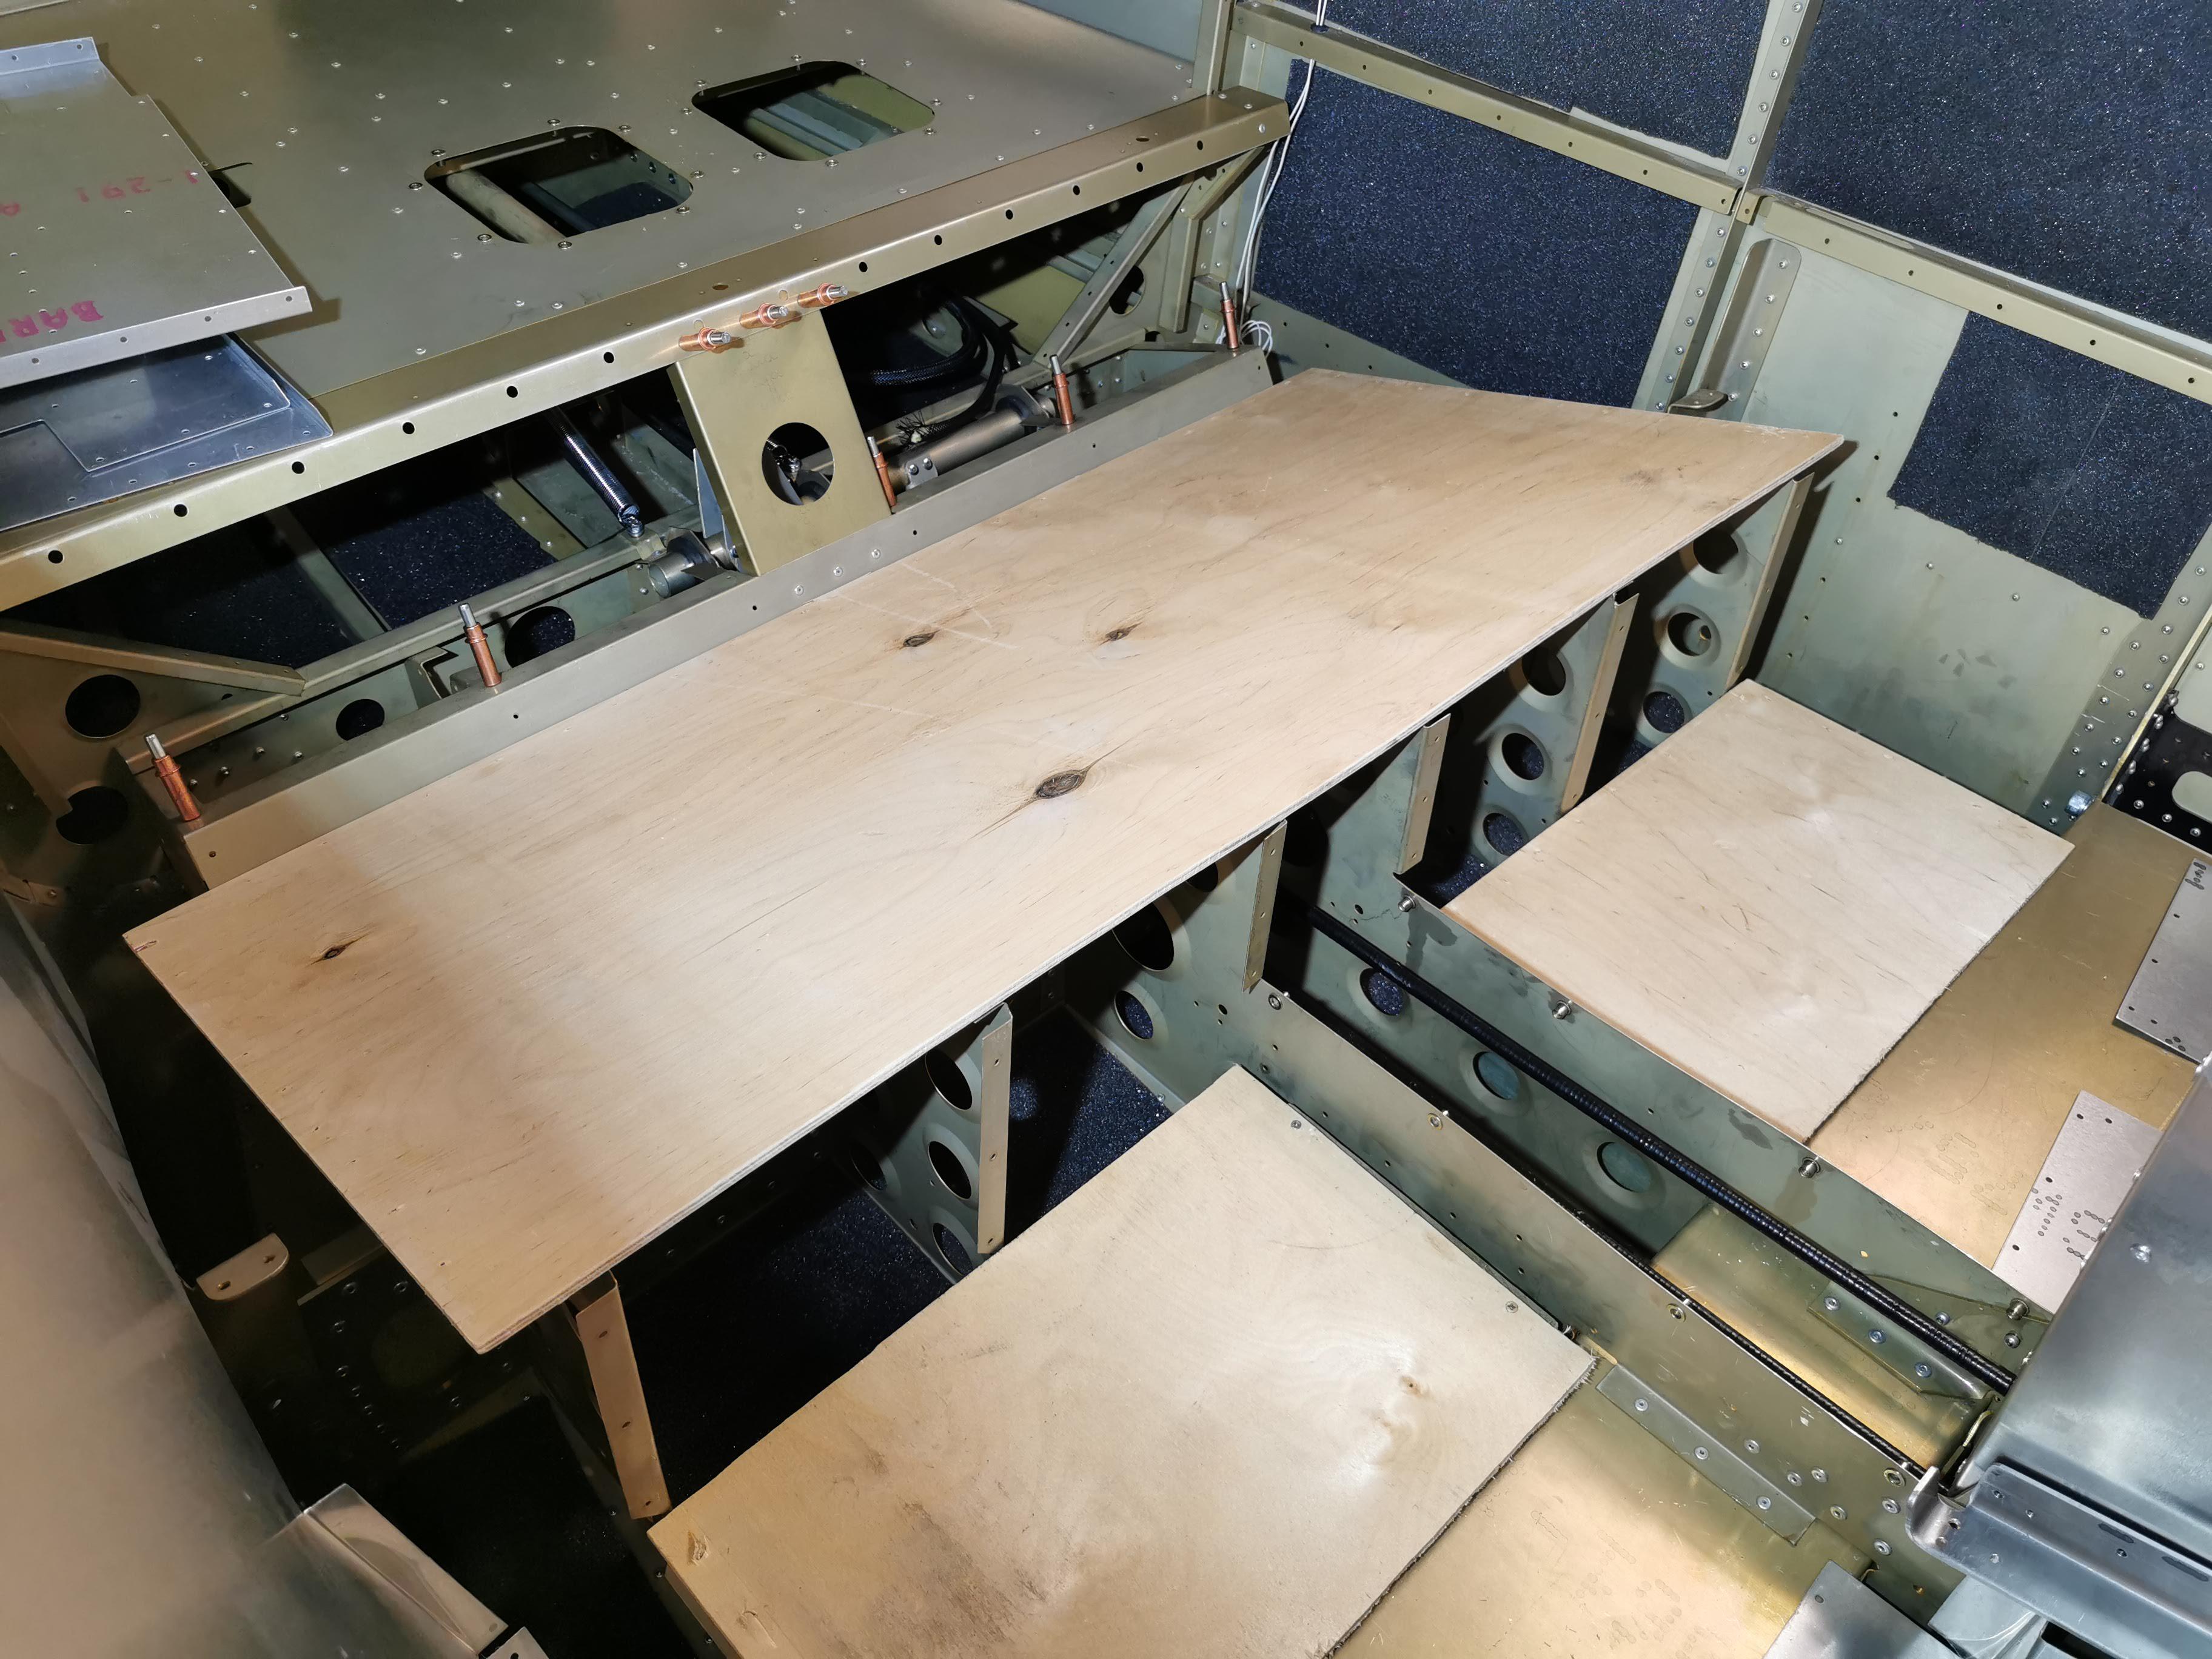
- Centre console box.
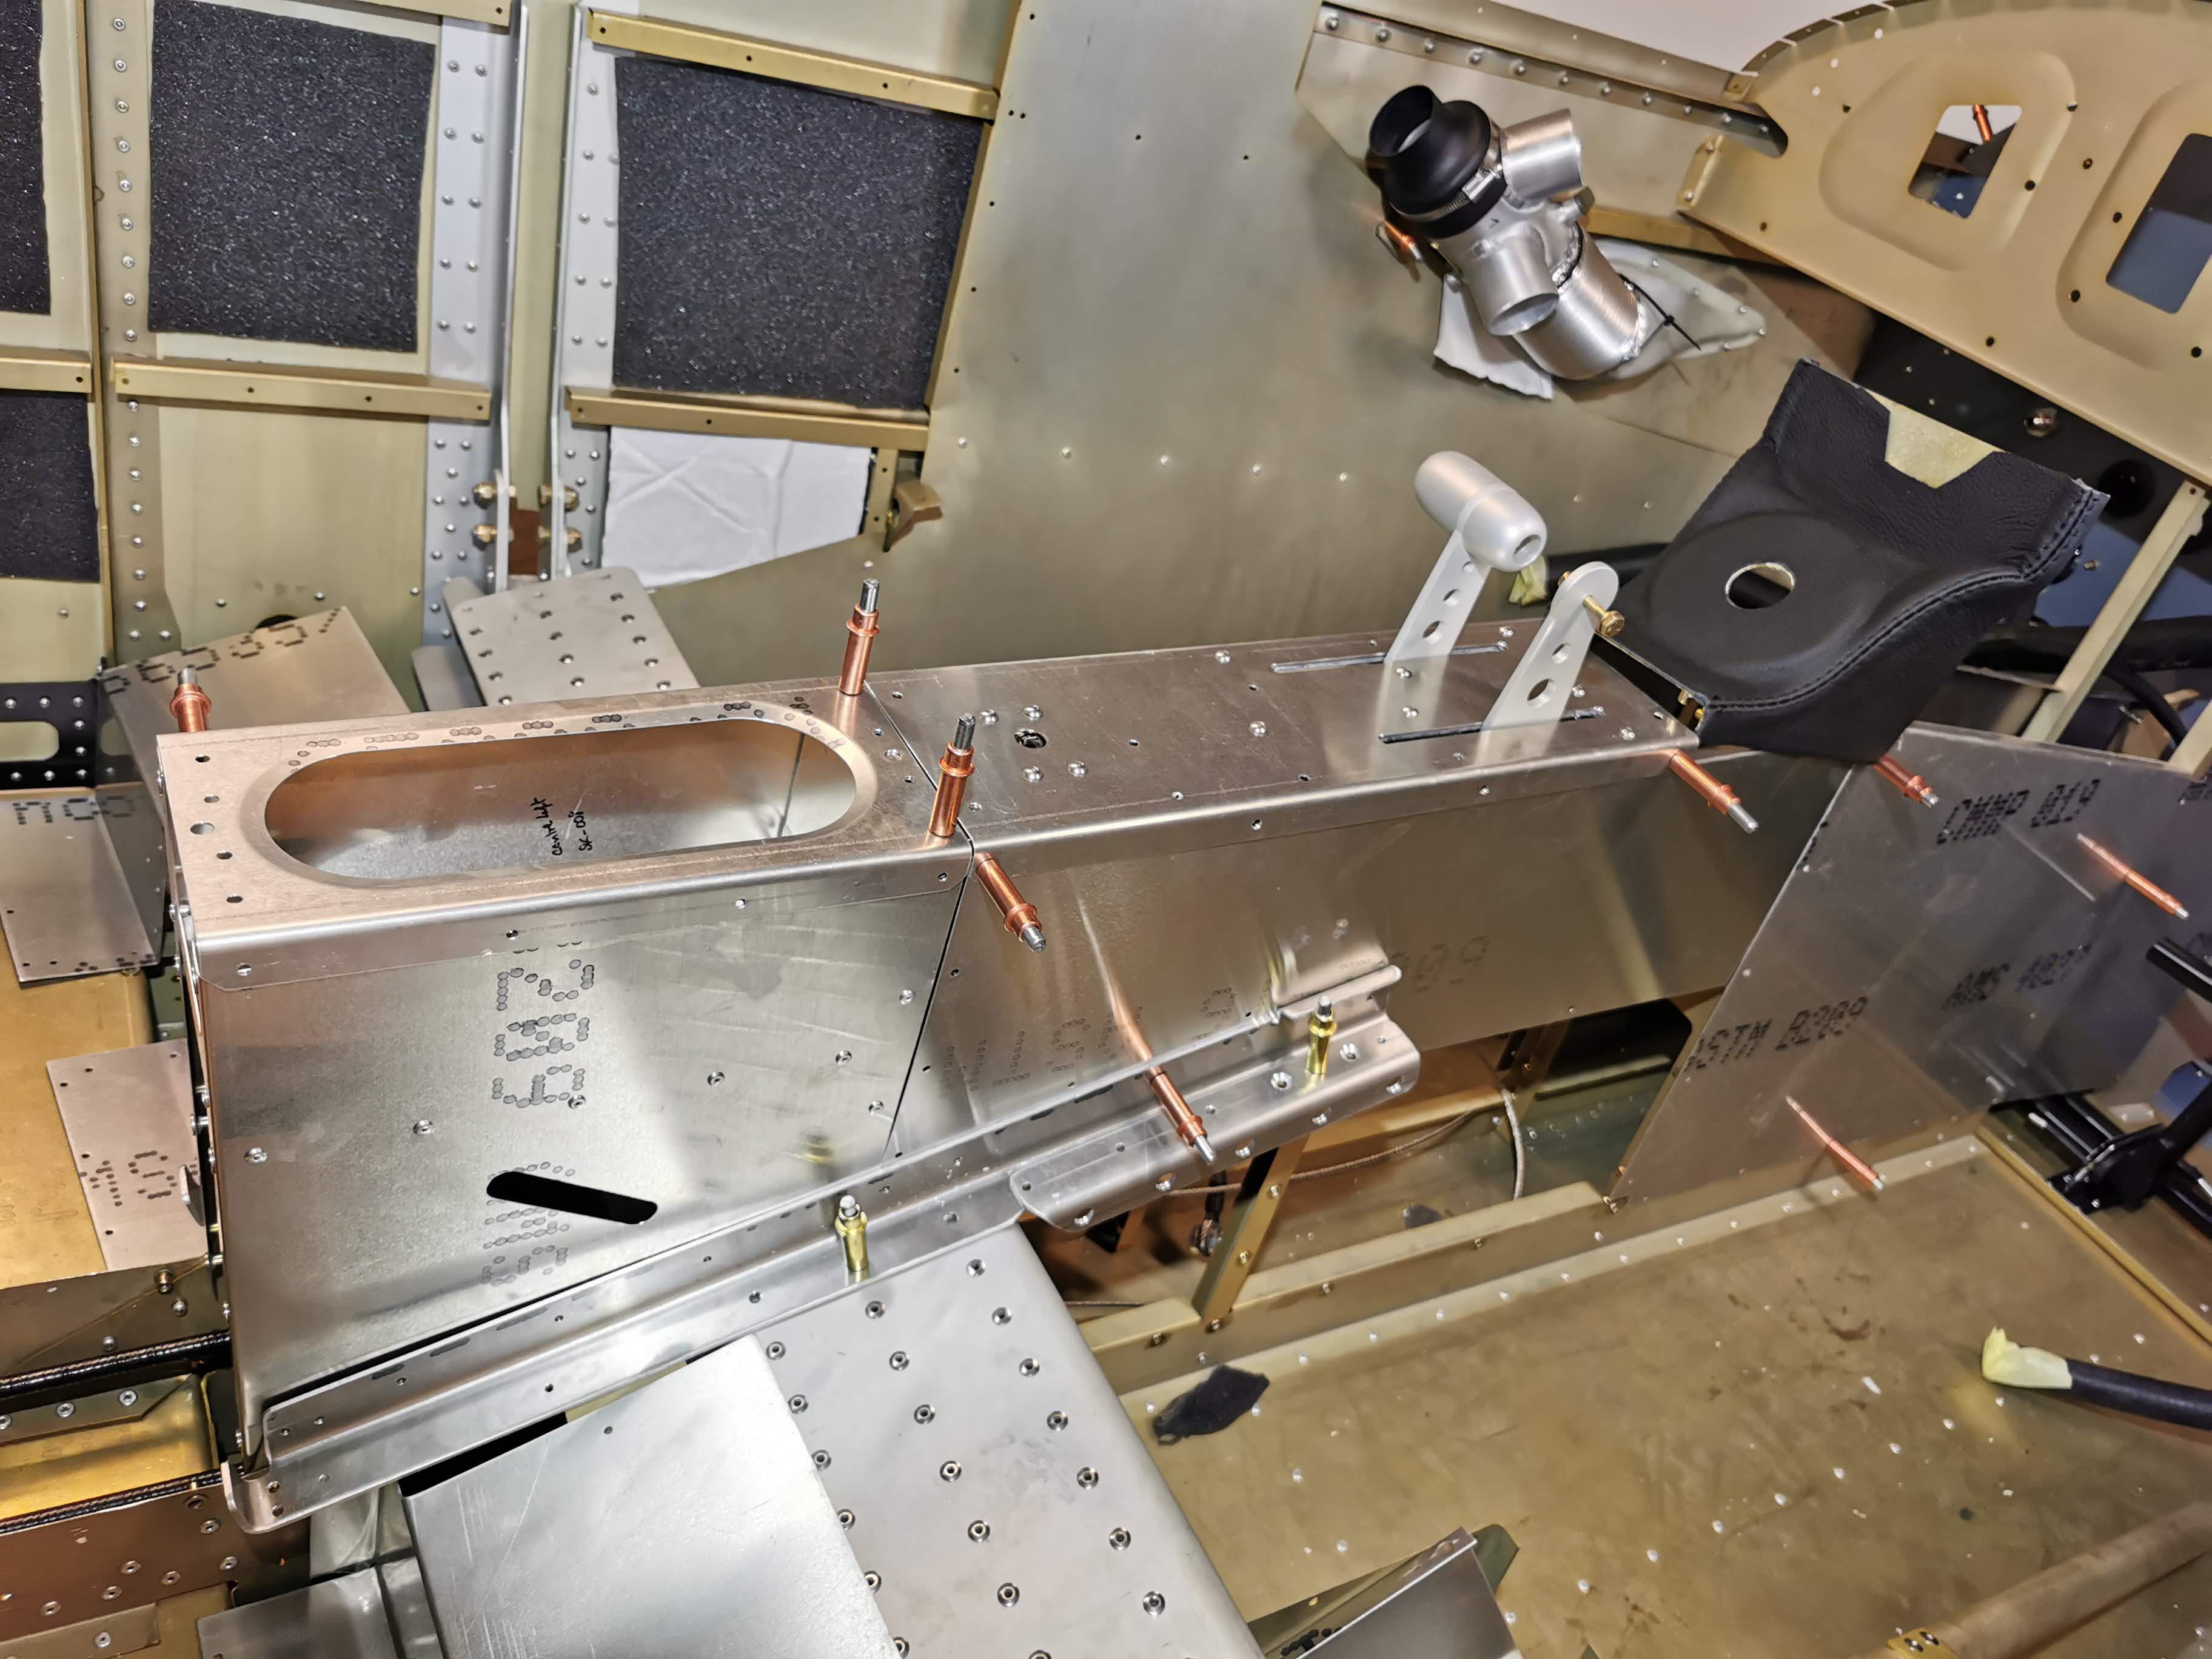
- Throttle/brake quadrant.
- All seats assembled (more than >>500 rivets right there) .
- Front seats backs spray painted with 2K aerosol (RAL 7005 Matt). Lets see if it’s hard wearing enough.
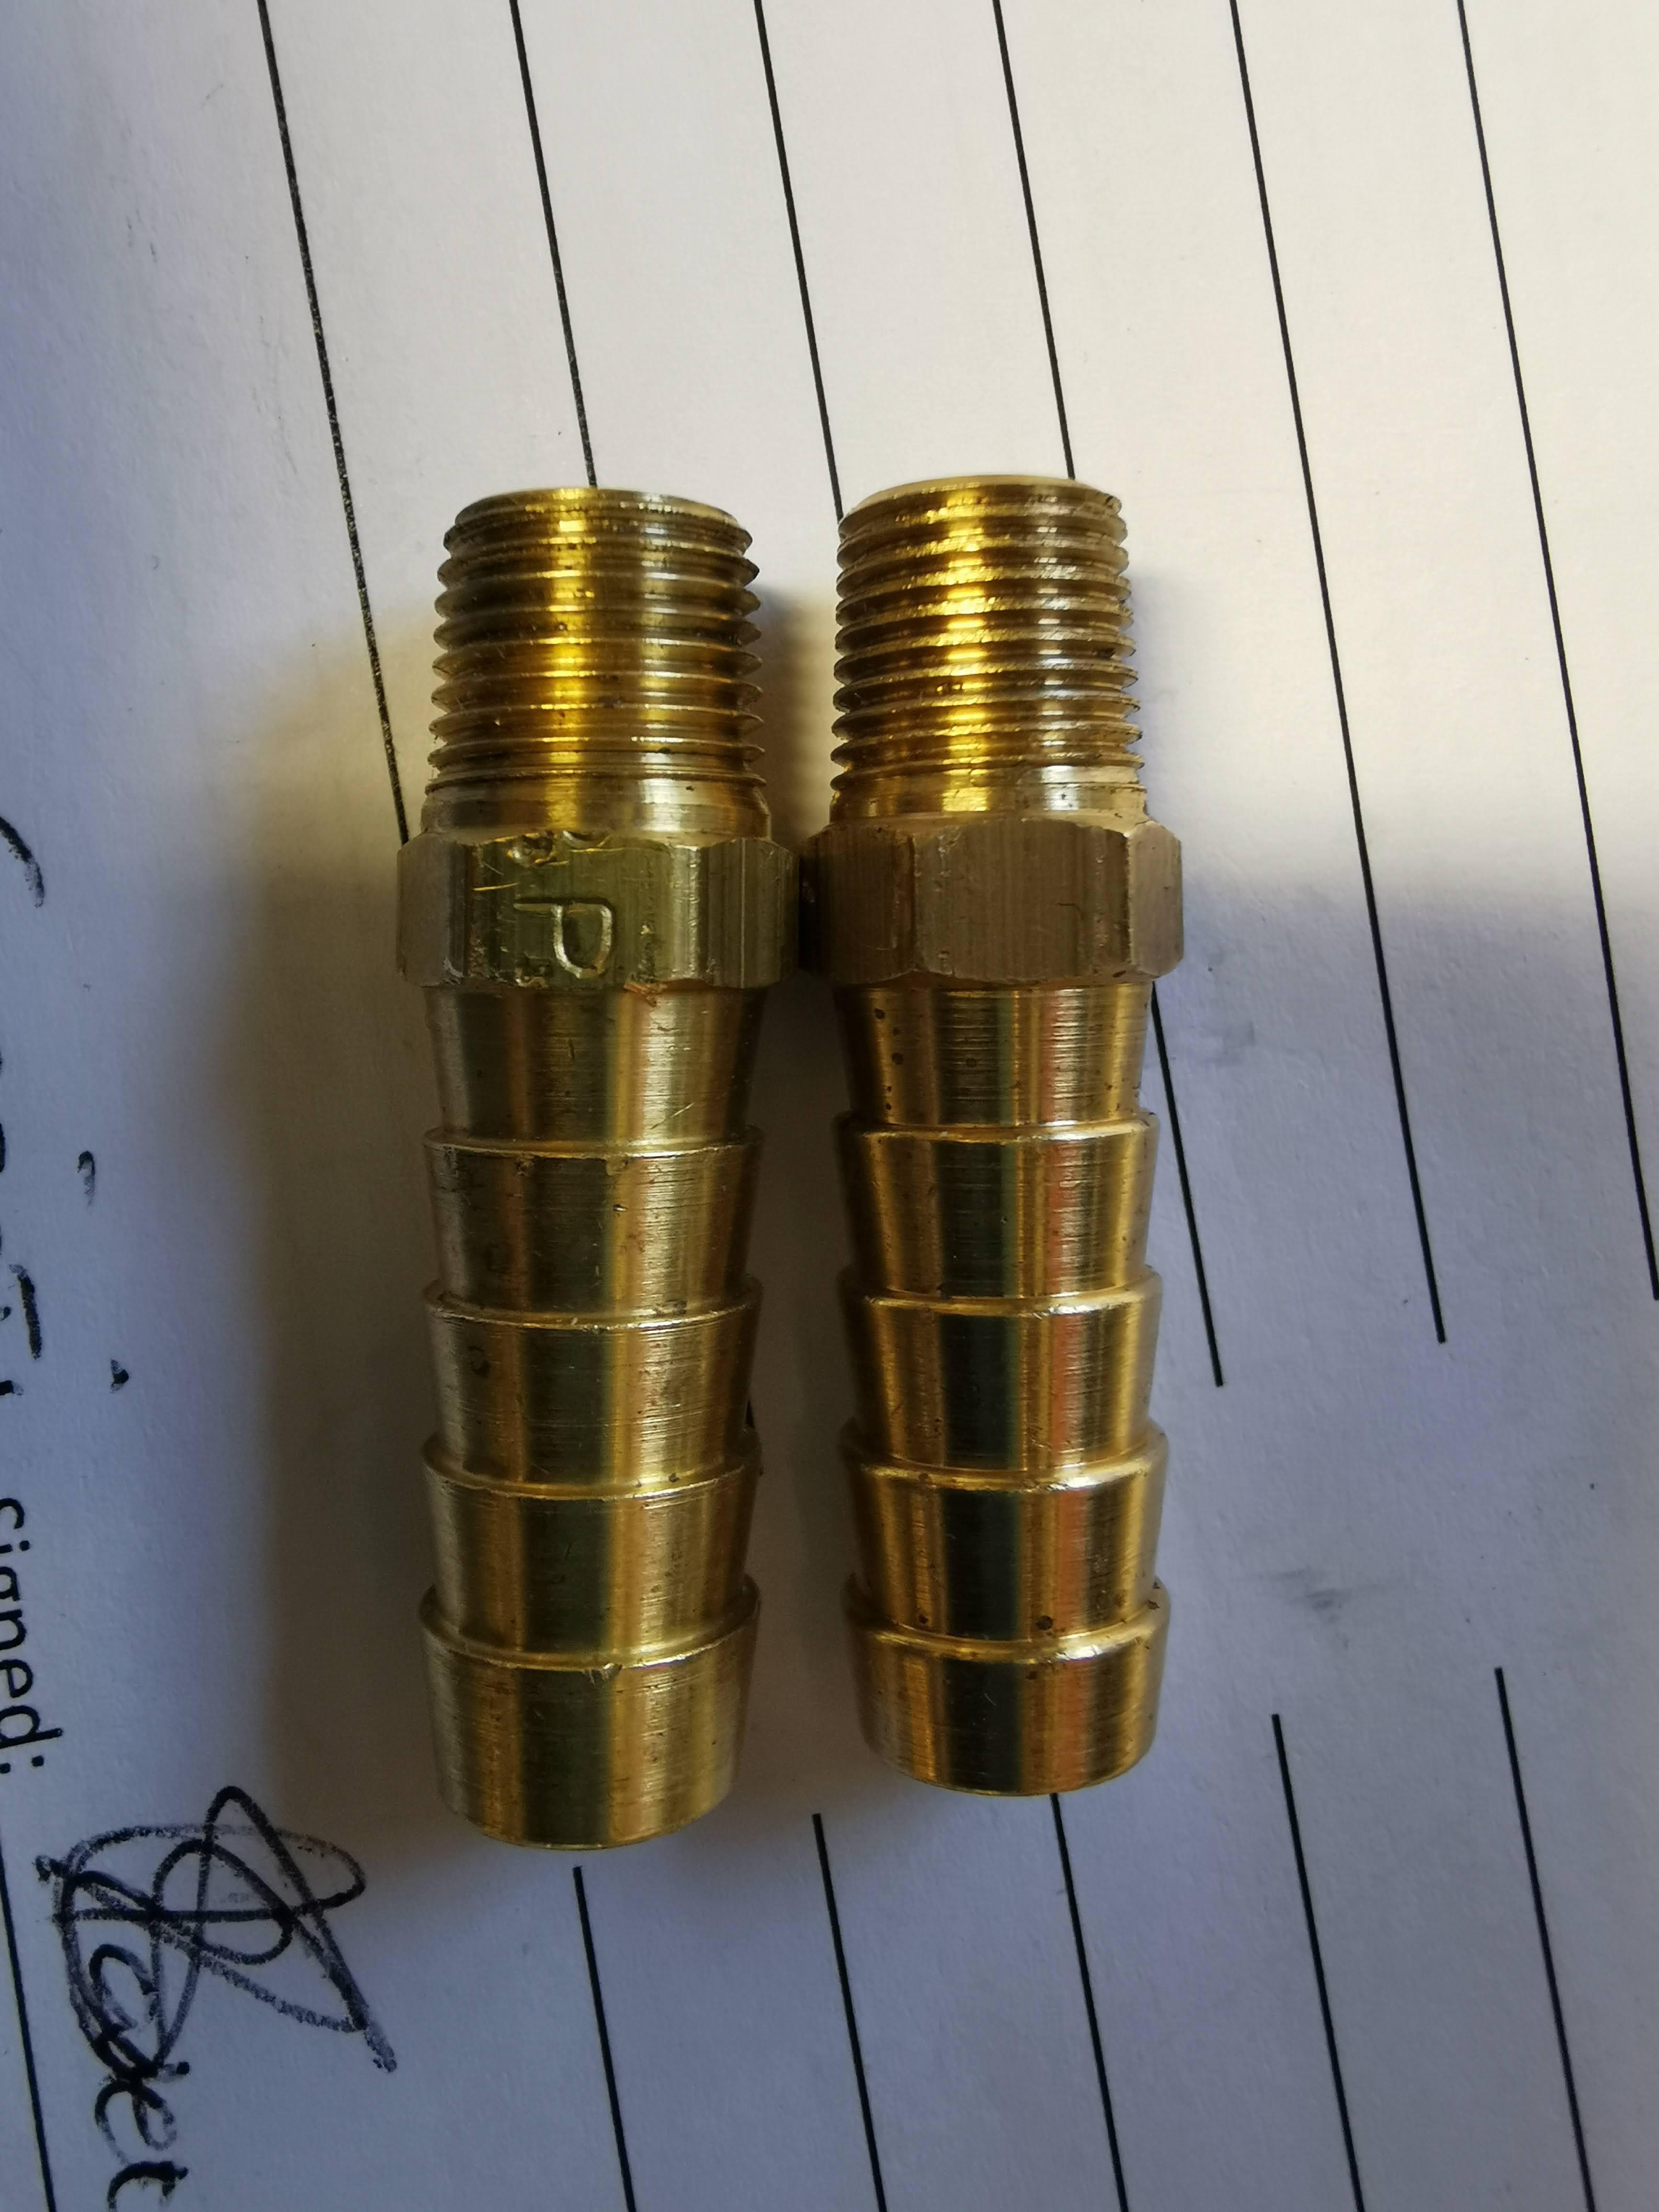
- Booster pump – learnt about differnt NPT fittings and torquing them. Hand tight + 1.3 turns typically.
- Dry fit heater and tubes.
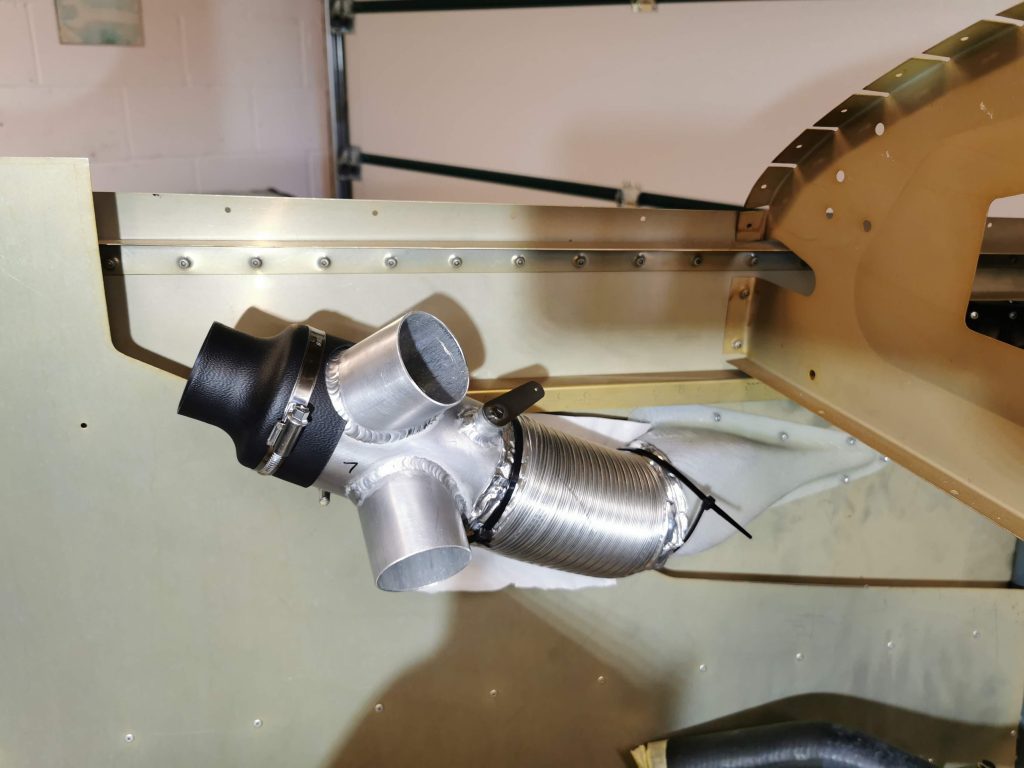
- Naca ducts and fresh air assembly clecoded.
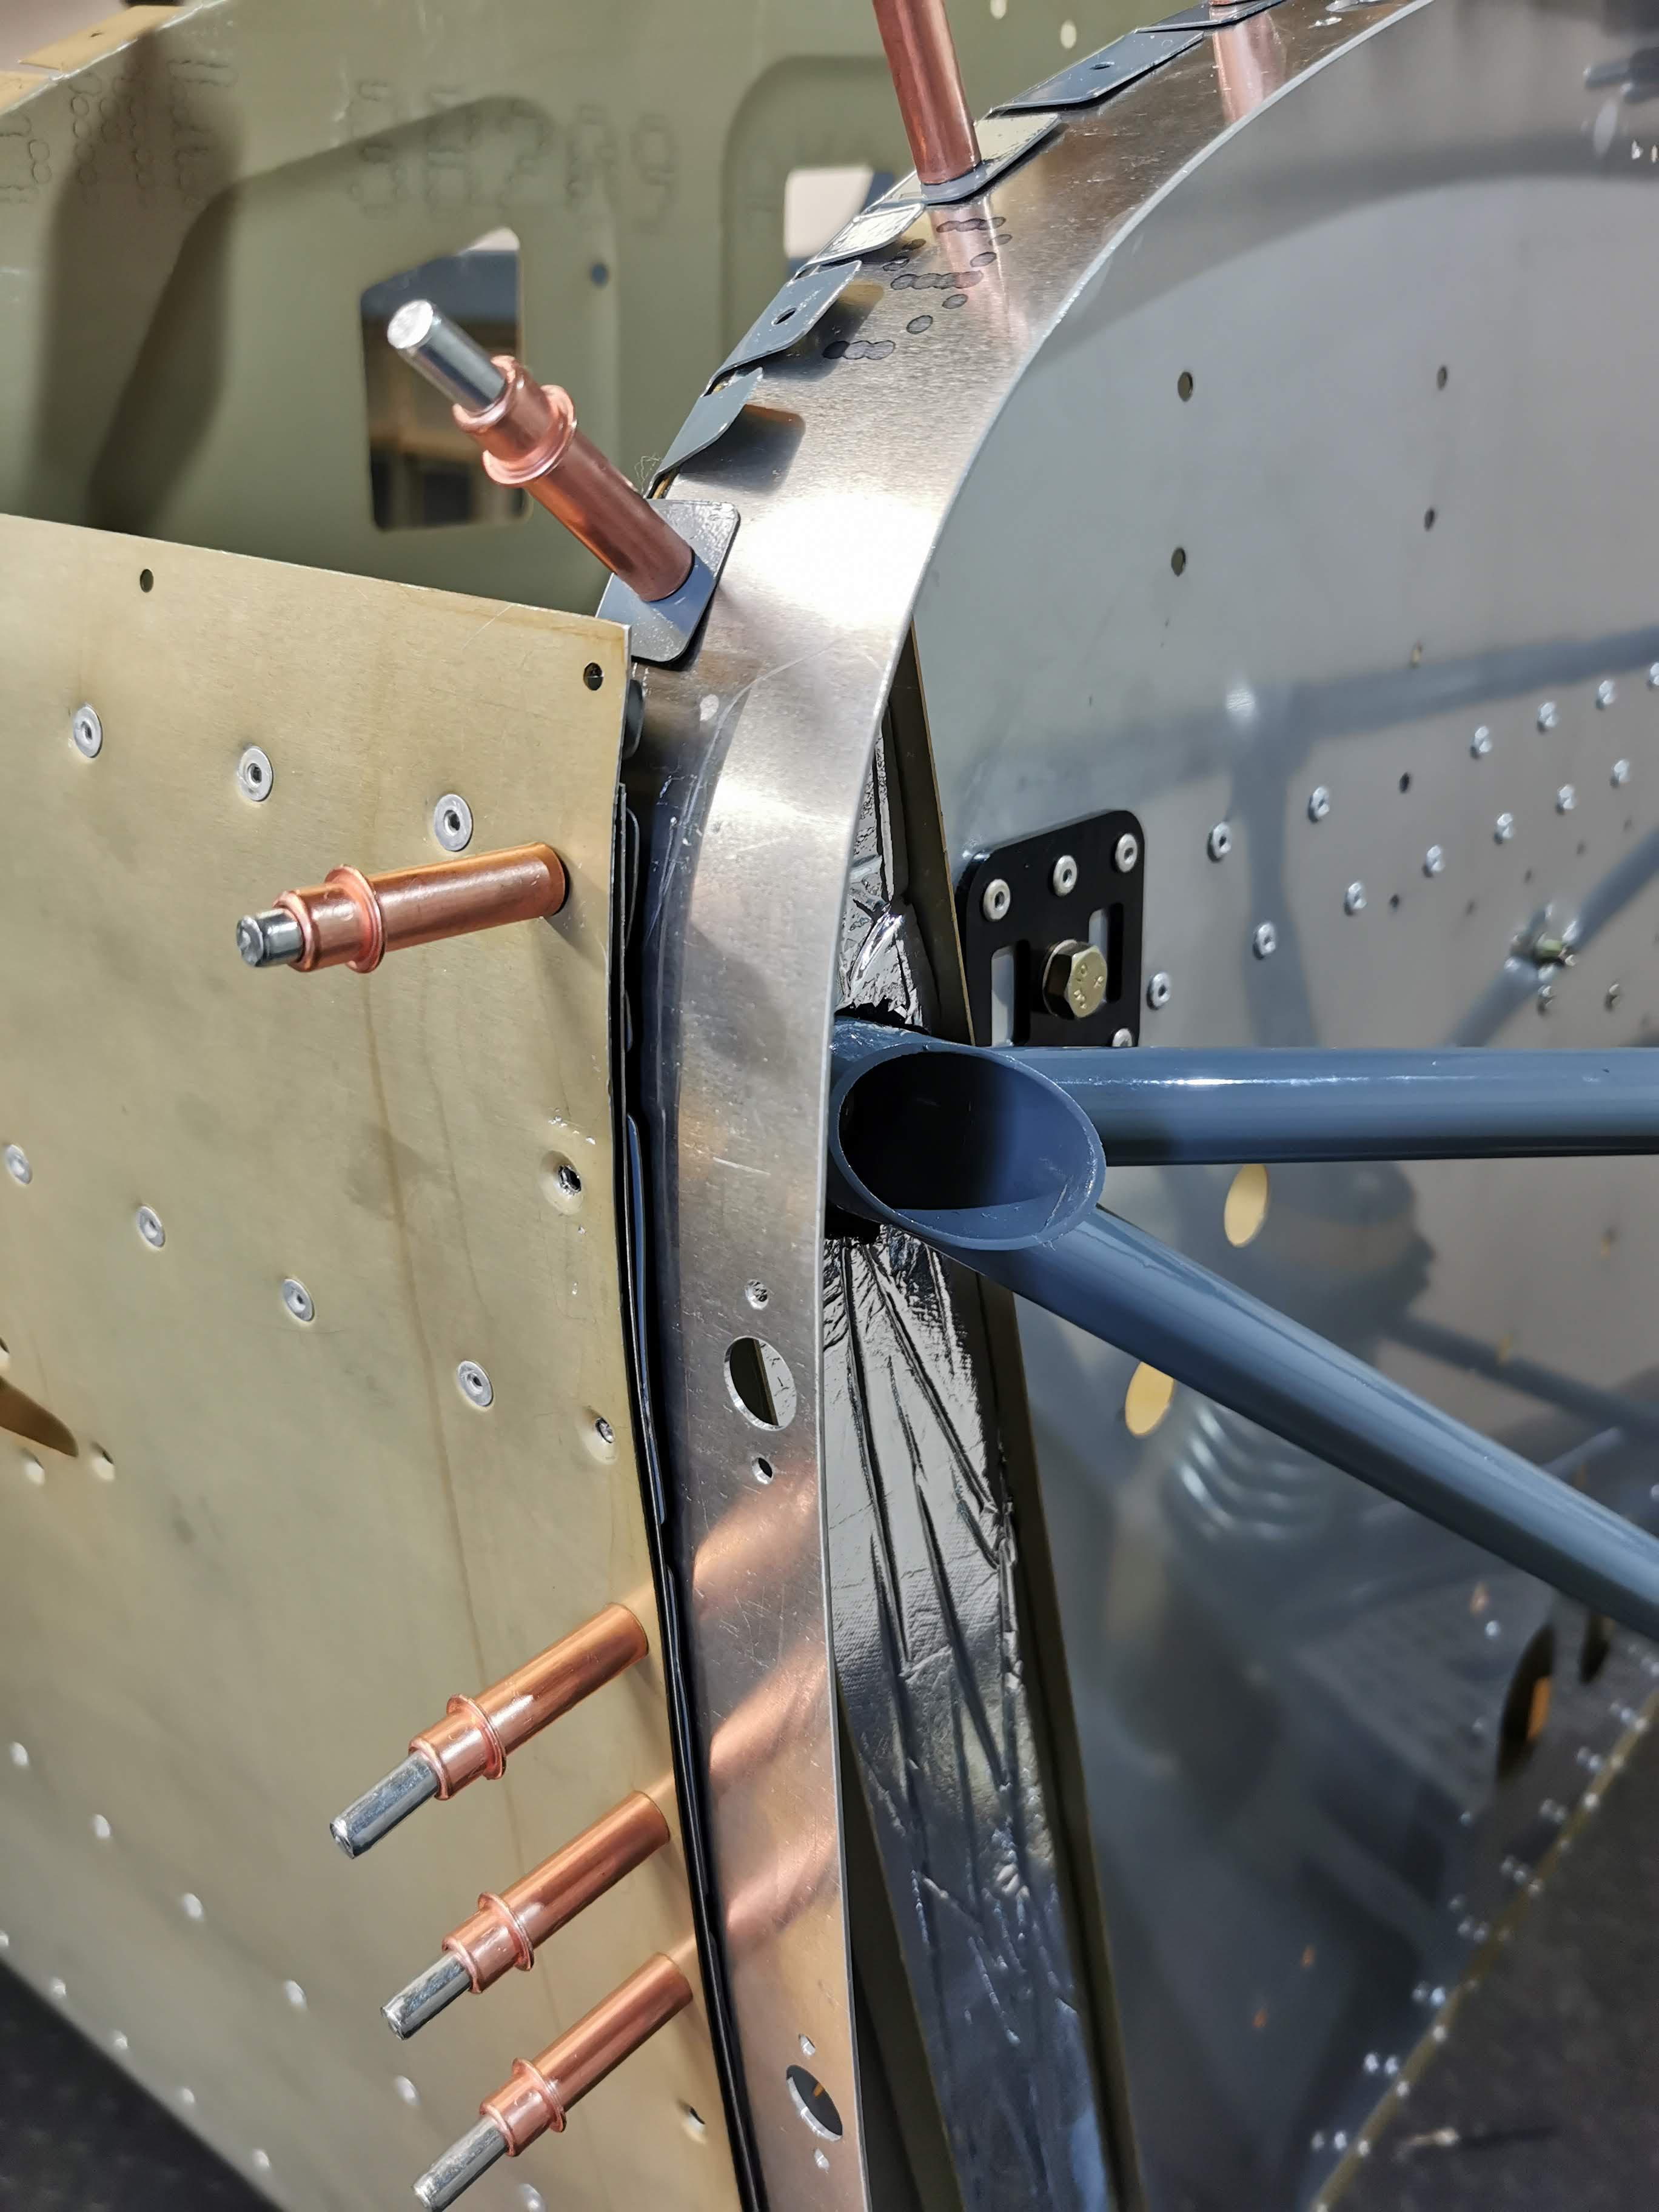
Challenging to fit factory assembled elevator rod, eventually did per assembly instructions. From rear with some force and grease through the mid-fuselage grommet!


Some have said that the fresh air mixer rattles and doesn’t close completely, so as it’s easy to do at this stage I added some 2 mm craft foam as others have done. Glued down with Gorilla glue.
